E2E (End to End) Testing
When it comes to E2E or "End to End" testing, the first testing tool recommended in the Next.js documentation is "Cypress", a "next generation front end testing tool built for the modern web. [It addresses] the key pain points developers and QA engineers face when testing modern applications."
E2E Testing is a technique that tests your app from the web browser through to the back end of your application, as well as testing integrations with third-party APIs and services. These types of tests are great at making sure your entire app is functioning as a cohesive whole.
Cypress runs end-to-end tests the same way users interact with your app by using a real browser, visiting URLs, viewing content, clicking on links and buttons, etc. Testing this way helps ensure your tests and the user's experience are the same.
Writing end-to-end tests in Cypress can be done by developers building the application, specialized testing engineers, or a quality assurance team responsible for verifying an app is ready for release. Tests are written in code with an API that simulates the steps a that a real user would take.
Essentially, we will be using Cypress to test how multiple pieces of the application work together to enable the user to perform a series of tasks (ie: logging in, performing an action with multiple steps, logging out, etc.). This is a different approach to "Unit Testing", which focused on testing a specific "unit" of code (ie: a component, module, function, etc).
Installing / Configuring Cypress
To begin using Cypress for E2E testing, we first must install and configure it. For this example, we will be writing some tests on a sample application that implements "Iron Session".
To get started, obtain the "iron-session" example from the Example Code.
Open this folder in Visual Studio Code and execute the following command in the Integrated Terminal:
npm install
You can then test that the example is functioning correctly by running the sample using the familiar command:
npm run dev
Once you are satisfied that it is working as expected, we can begin to install Cypress:
- Install Cypress using NPM:
npm install --save-dev cypress
- Add the following entry to "scripts" in package.json
"cypress": "cypress open"
- Execute the command:
npm run cypress
This will open the "Cypress" app, which will provide a visual interface to help us configure the application for testing:

- Click on the "E2E Testing" Box to configure the "Iron Session" example. This performs the following actions:
Adds a "cypress.config.js" file at the root of the folder
Adds a "cypress/fixtures" folder containing the file: "example.json"
Adds a "cypress/support" folder containing the files: "commands.js" and "e2e.js"
You can click the "Continue" button at the bottom to proceed to the next step
- At the "Choose a Browser" prompt, click the green button to use the default option. This will likely be: "Start E2E testing in Chrome"
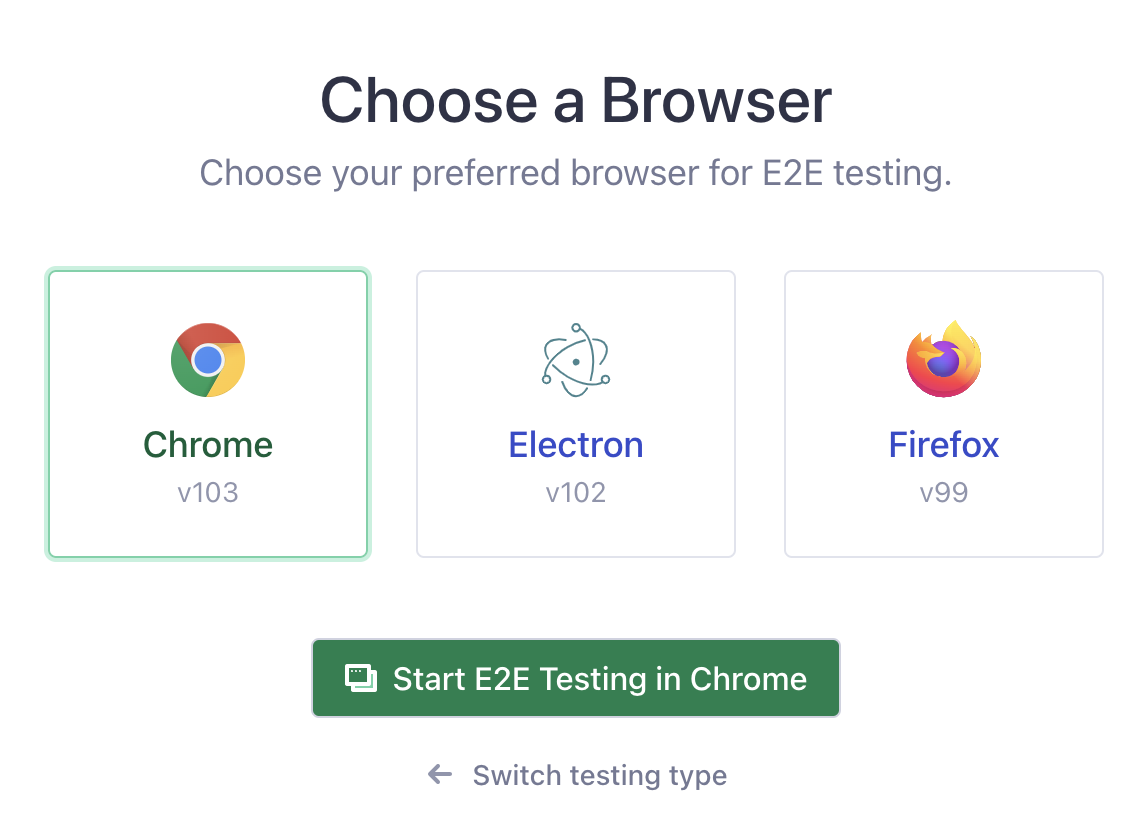
This will open a new Chrome window with the Cypress UI
- At the next prompt: "Create your first spec", you can create your first spec file by clicking the "Create new empty spec" button on the right.
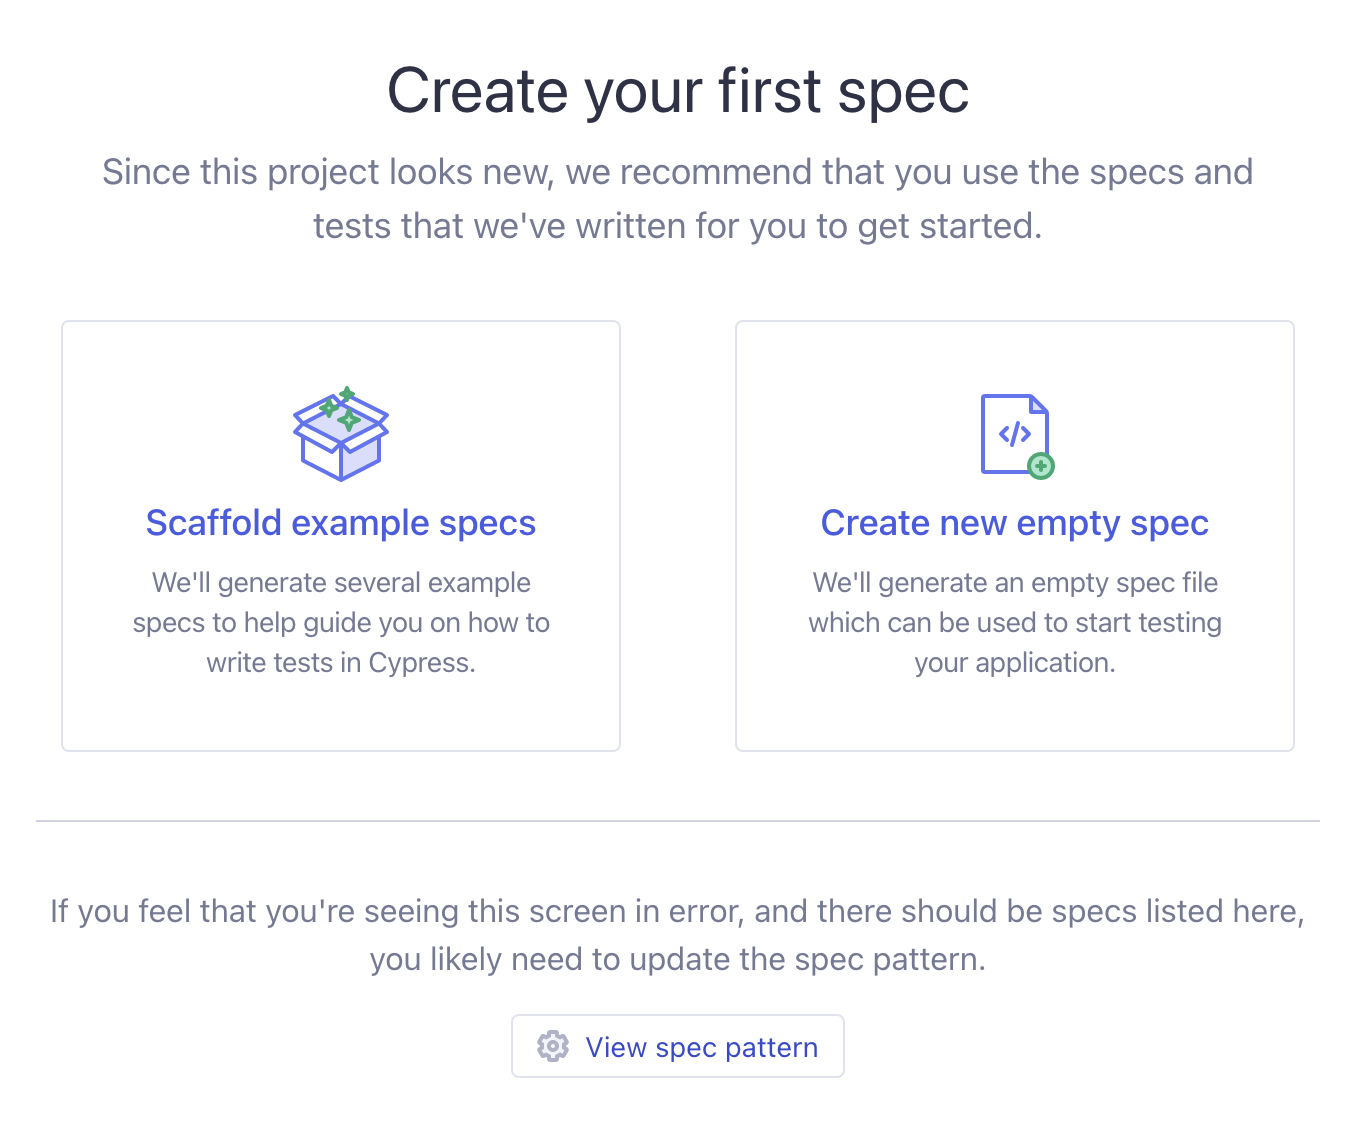
This will create a new folder in the "cypress" directory called "e2e" which will contain the first spec file: spec.cy.js
- Once the spec is successfully added, ie:
describe('empty spec', () => {
  it('passes', () => {
    cy.visit('https://example.cypress.io');
  });
});
You can click the "Okay, run the spec" button to test it. You should see that the test runner successfully navigates to "https://example.cypress.io" and the spec passes.
Once this is done, you may close Cypress in the Integrated Terminal in Visual Studio Code with "Ctrl + C"
Testing the "iron-session" example
With Cypress correctly configured and executing a simple, boilerplate test, we can now focus on writing meaningful tests that test an example application that leverages "Iron Session" for authentication.
Before we write our first tests however, we must make one important configuration change: adding a baseUrl for our application:
By adding a baseUrl in your configuration Cypress will attempt to prefix the baseUrl any URL provided to commands like cy.visit() and cy.request() that are not fully qualified domain name (FQDN) URLs.
This allows you to omit hard-coding fully qualified domain name (FQDN) URLs in commands. For example,
cy.visit('http://localhost:3000/login')can be shortened to
cy.visit('/login')
To achieve this in our application, we must open the cypress.config.js file and modify it to include a baseUrl property under "e2e", ie:
const { defineConfig } = require('cypress');

module.exports = defineConfig({
  e2e: {
    setupNodeEvents(on, config) {
      // implement node event listeners here
    },
    baseUrl: 'http://localhost:3000',
  },
});
Cypress Test Syntax
You have probably noticed that the syntax for writing tests looks very similar to what was discussed when we wrote our first tests using "Jest". There exists a "describe" function as well as an "it" function that works the same way as the "test" function in Jest (to identify a test).
NOTE: Recall, you can use the function "it()" in Jest as well, instead of "test()", as "it()" is an alias for "test()" - see: https://jestjs.io/docs/api#testname-fn-timeout
The common functions and commands that we will be using to write our tests are as follows. For a full list of commands, see "Commands" in the official Cypress documentation:
describe(name, fn): Creates a block that groups several related tests together:
describe('some tests', () => {
  // test definitions here
});
it(name, fn) - This is the function that defines a test, identified by "name"
it('test name', () => {
  // test "expectations" here
});
cy.visit() - Visit (navigate to) a remote URL
cy.visit('/'); // visits the baseUrl
cy.visit({
  url: '/pages/hello.html',
  method: 'GET',
});
cy.url() - Get the current URL of the page that is currently active.
cy.url(); // Yields the current URL as a string
cy.should() - Create an assertion. Assertions are automatically retried until they pass or time out. These typically take the form of .should(chainer, value), where "chainer" is one of the available assertions listed here, such as "include", "match", etc. and are chained (cannot be called directly from "cy").
cy.url().should('include', '/login');
cy.url().should('match', /.*(\/login)/);
cy.get() - Get one or more DOM elements by selector or alias
cy.get('.list > li'); // Yield the <li>'s in .list
cy.contains() - Get the DOM element containing the text. DOM elements can contain more than the desired text and still match. Additionally, Cypress prefers some DOM elements over the deepest element found.
cy.get('.nav').contains('About'); // Yield element in .nav containing 'About'
cy.contains('Hello'); // Yield first element in document containing 'Hello'
cy.click() - Click a DOM element.
cy.get('.btn').click(); // Click on button
cy.contains('Welcome').click(); // Click on first element containing 'Welcome'
cy.type() - Type into a DOM element. Curly braces ({}) may be used to type a key such as "enter", "esc", "backspace", etc.
cy.get('input').type('Hello, World'); // Type 'Hello, World' into the 'input'
cy.get('input').type('{enter}'); // Press the "enter" key while on the 'input'
Test 1 Protected Route /profile-sg
For this first test, we will assert that the "/profile-sg" route cannot be accessed without first logging in. To create this test, we will be using the "spec.cy.js" file, so go ahead and comment out the existing test that was created for us:
// describe('empty spec', () => {
//   it('passes', () => {
//     cy.visit('https://example.cypress.io')
//   })
// })
Instead, we will be defining a new block of tests, ie:
describe('login / logout flow specification', () => {});
Within the callback, we will write the first test. The steps we need to verify are
- User attempts to navigate (visit) the route "/profile-sg"
- User is redirected to "/login" route
To test the above flow, we can use the following test:
it('cannot navigate to /profile-sg without being logged in', () => {
  cy.visit("/profile-sg")
  .url().should('include', "/login");
});
Notice how we can "chain" the operations, ie cy.visit().url().should(). In the above code, we first attempt to visit the route "/profile-sg" and once this is complete, we examine the url to ensure that we are indeed at "login".
Test 2 Rejecting Invalid Github Users
To verify the login functionality of the app, we should make sure that an unknown GitHub user is not accepted past the "Login" process, ie:
- Navigate (visit) the route "/login"
- Type in an unknown GitHub User (ie: "!!!" into the "userName" input element)
- Hit the "enter" key to submit the form
- User remains on the route "/login".
To test this flow, we can use the following test:
it('rejects a login attempt by an invalid github user: !!!', () => {
  cy.visit("/login")
  .get('input[name="username"]').type("!!!").type("{enter}")
  .url().should('include', "/login");
});
Here, we first navigate to the "/login" route before "getting" the "input" element for username. We then instruct the test to type the invalid username and hit enter. Once this is complete we assert that the url does indeed remain at "/login".
Test 3 Granting Access to Valid Github Users
In an effort to further verify the login functionality of our app, we should also write another test that successfully authenticates a known GitHub user. Additionally, once the user has been authenticated, we must ensure that they can access the protected route (/profile-sg), which was denied in our first test. Finally, we should ensure that once they have logged in, they can log out.
Essentially, we must verify the following flow:
- Navigate (visit) the route "/login"
- Type in an unknown GitHub User (ie: "test-account" into the "userName" input element)
- Hit the "enter" key to submit the form
- User should be directed to /profile-sg
- Click the "Logout" button
- User should be directed to /login
This can be accomplished using the following test:
it('successfully authenticates a valid github user: test-account and logs out', () => {
  cy.visit("/login")
  .get('input[name="username"]').type("test-account").type("{enter}")
  .url().should('include', '/profile-sg')
  .get("nav").contains("Logout").click()
  .url().should('include', "/login");
});
This is very similar to the previous test, however this time we assert that the url includes "/profile-sg" instead of "/login" after the login attempt. Additionally, we get the "Logout" button within the "nav" element and click it. If the user was directed back to "/login" then we know that this flow is functioning correctly .
NOTE: For more examples of how to run tests, including different commands such as working with cookies, files, network requests, the global window object and much more see the official documentation as well as the excellent "Kitchen Sink" example app, provided by Cypress.
Running in "Headless" Mode
If you do not wish to run your tests using the GUI tool, it is also possible to run the tests strictly from the command prompt (ie: "Headlessly"). All that is required is that we add the "cypress run" command to "scripts" in package.json, ie:
"cypress:headless": "cypress run"
To start testing, we can run:
npm run cypress:headless